Computer errors are bound to occur sooner or later, and while some might be easy to fix, others require a bit more effort.
Depending on the issue, sometimes your safest bet is reinstalling the software from scratch, and Windows 11 is no different. Unfortunately, this process usually requires you to back up your files unless you don’t want to lose them, but that’s not always the case.
Depending on the issue, sometimes your safest bet is reinstalling the software from scratch, and Windows 11 is no different. Unfortunately, this process usually requires you to back up your files unless you don’t want to lose them, but that’s not always the case.
How to Completely and Cleanly Reinstall Windows 11?
1. Perform a Clean Install Using Installation Media
- Backup Your Data:
- Connect an external storage device (USB drive, SD card, or external hard drive) to your PC.
- Copy all important files you want to save to this external storage device.
- Explanation: Backing up your data ensures that you don't lose any important files during the installation process.
- Create Installation Media:
- On a working PC, go to the Microsoft software download website.
- Select Download tool now to get the Media Creation Tool.
- Run the tool, accept the license terms, and select Create installation media (USB flash drive, DVD, or ISO file) for another PC.
- Choose a language, edition, and architecture (64-bit or 32-bit).
- Select USB flash drive and follow the steps to create the installation media.
- Explanation: Creating installation media on a USB drive will allow you to install a fresh copy of Windows 11 on your PC.
- Install Windows 11:
- Connect the USB installation media to the PC where you want to install Windows 11.
- Restart the PC and boot from the USB drive. (You may need to change the boot order in the BIOS/UEFI settings.)
- When the Windows Setup screen appears, select Next and then Install now.
- If prompted, enter your Windows 11 product key or select I don’t have a product key.
- Choose Custom: Install Windows only (advanced).
- Delete all existing partitions on the drive where you want to install Windows. Highlight each partition and select Delete.
- Select the Unallocated Space and click Next to start the installation.
- Explanation: Deleting all partitions ensures that you are starting with a completely clean slate, preventing any old settings or files from affecting the new installation.
2. Reset Windows 11 from Settings
- Open Settings:
- Click the Start button and select Settings.
- Go to System > Recovery.
- Reset This PC:
- Under Reset this PC, click Reset PC.
- Choose Remove everything to ensure a completely clean slate.
- If you plan to sell or give away your PC, select Change settings and turn Data erasure to On for a more thorough clean.
- Explanation: Resetting your PC and choosing to remove everything will reinstall Windows 11 and delete all your personal files, apps, and settings, similar to a clean install.
3. Use the HP Cloud Recovery Tool for HP Devices
- Download HP Cloud Recovery Tool:
- On another PC, go to the Microsoft Store and download the HP Cloud Recovery Tool.
- Install and open the tool.
- Prepare Recovery Media:
- Enter the product number of your HP device.
- Insert a 32GB USB flash drive.
- Follow the on-screen instructions to create a bootable USB recovery drive.
- Install Windows Using Recovery Media:
- Connect the USB recovery drive to your HP device.
- Restart the device and boot from the USB drive.
- Follow the on-screen instructions to reinstall Windows, including drivers and software that originally came with the PC.
- Explanation: Using the HP Cloud Recovery Tool ensures that you get a fresh and clean installation of Windows 11 along with all necessary drivers and software specific to your HP device.
4. Create a Windows 11 bootable drive
- Connect an 8-16GB flash drive to your PC.
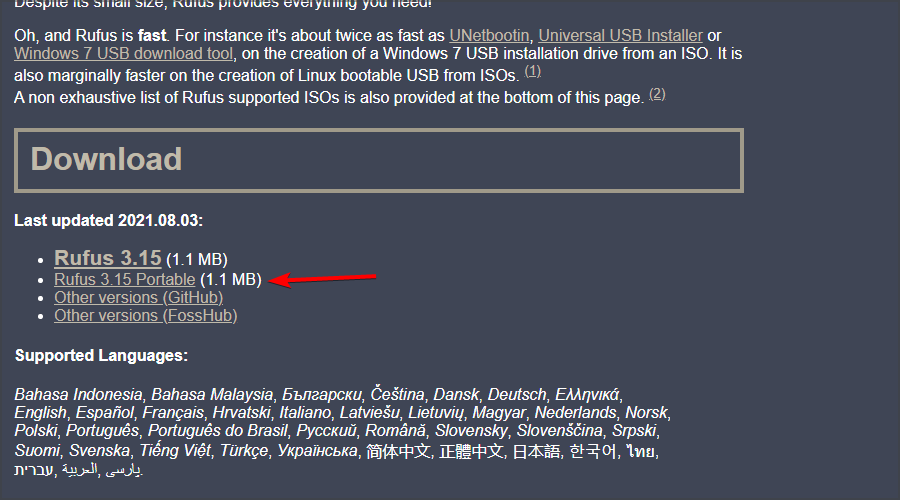
- Visit the Rufus website and download the software.

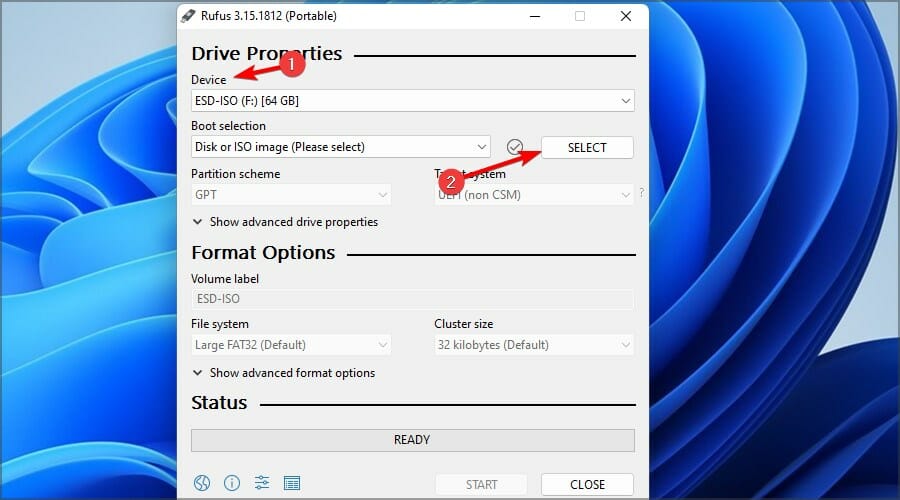
- Once the software is downloaded, run it.
- Choose your USB flash drive and click on Select.

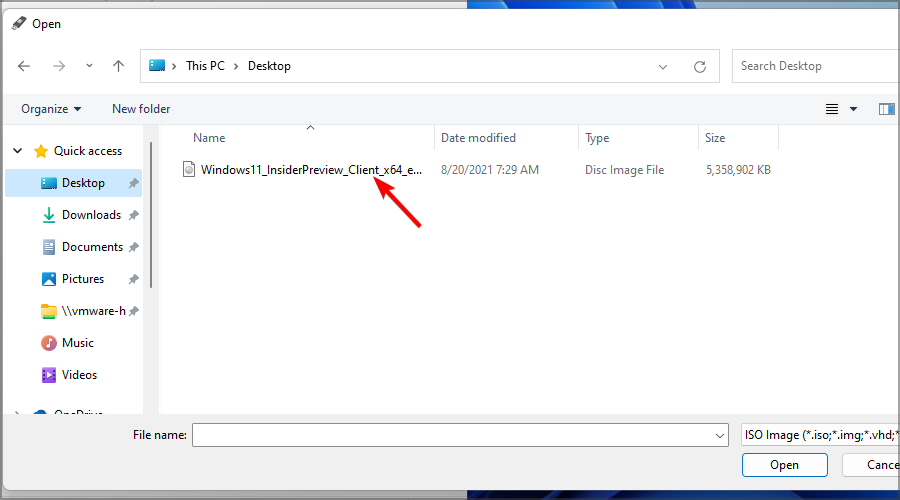
- Locate the Windows 11 ISO file.

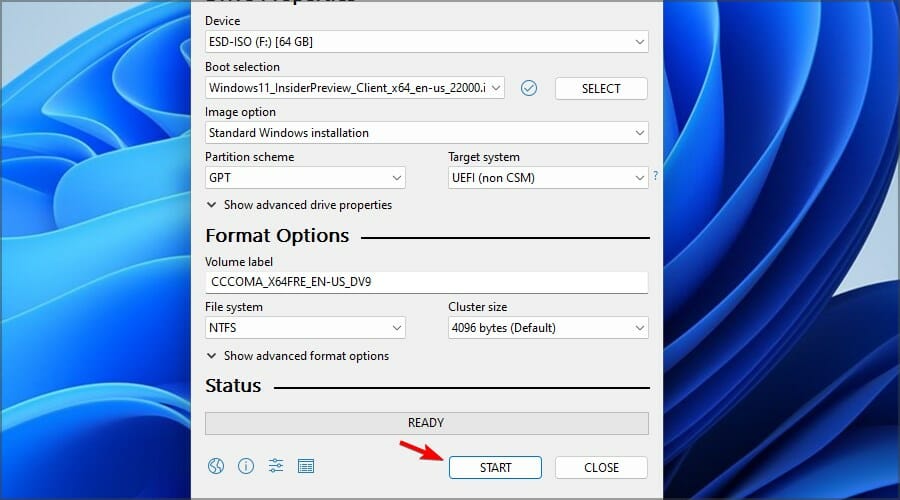
- Click on Start.

- You’ll be asked to confirm that you want to format the drive. Select OK.

- Wait for the process to finish.

5. Reinstall Windows Using Installation Media (For Dual Boot and Partition Issues)
- Backup Your Data:
- As before, ensure all important files are saved to an external storage device.
- Create Installation Media:
- Follow the steps outlined in Solution 1 to create a USB installation media.
- Fix Boot and Partition Issues:
- Connect the installation media and boot from the USB drive.
- When the Windows Setup screen appears, press Shift + F10 to open Command Prompt.
- Type diskpart and press Enter.
- Use the command list disk to see all connected disks.
- Select the correct disk (e.g., select disk 0).
- Use clean to remove all partitions and data.
- Exit Command Prompt and continue with the normal installation process as described in Solution 1.
- Explanation: This method is particularly useful if you have complicated partition setups or dual-boot configurations that you want to remove entirely.