Dark Mode in Windows 11 is a useful feature for those who prefer a darker interface to reduce eye strain, especially in low-light environments. Here are the solutions to enable Dark Mode and customize it according to your preferences.
By following these solutions, you can easily enable and customize Dark Mode in Windows 11. Whether you prefer using the straightforward Settings menu, making advanced tweaks in the Registry Editor, or using third-party tools for automation, these methods will help you achieve a more comfortable and personalized user experience.
How to Enable Dark Mode in Windows 11?
1. Enable Dark Mode through Settings
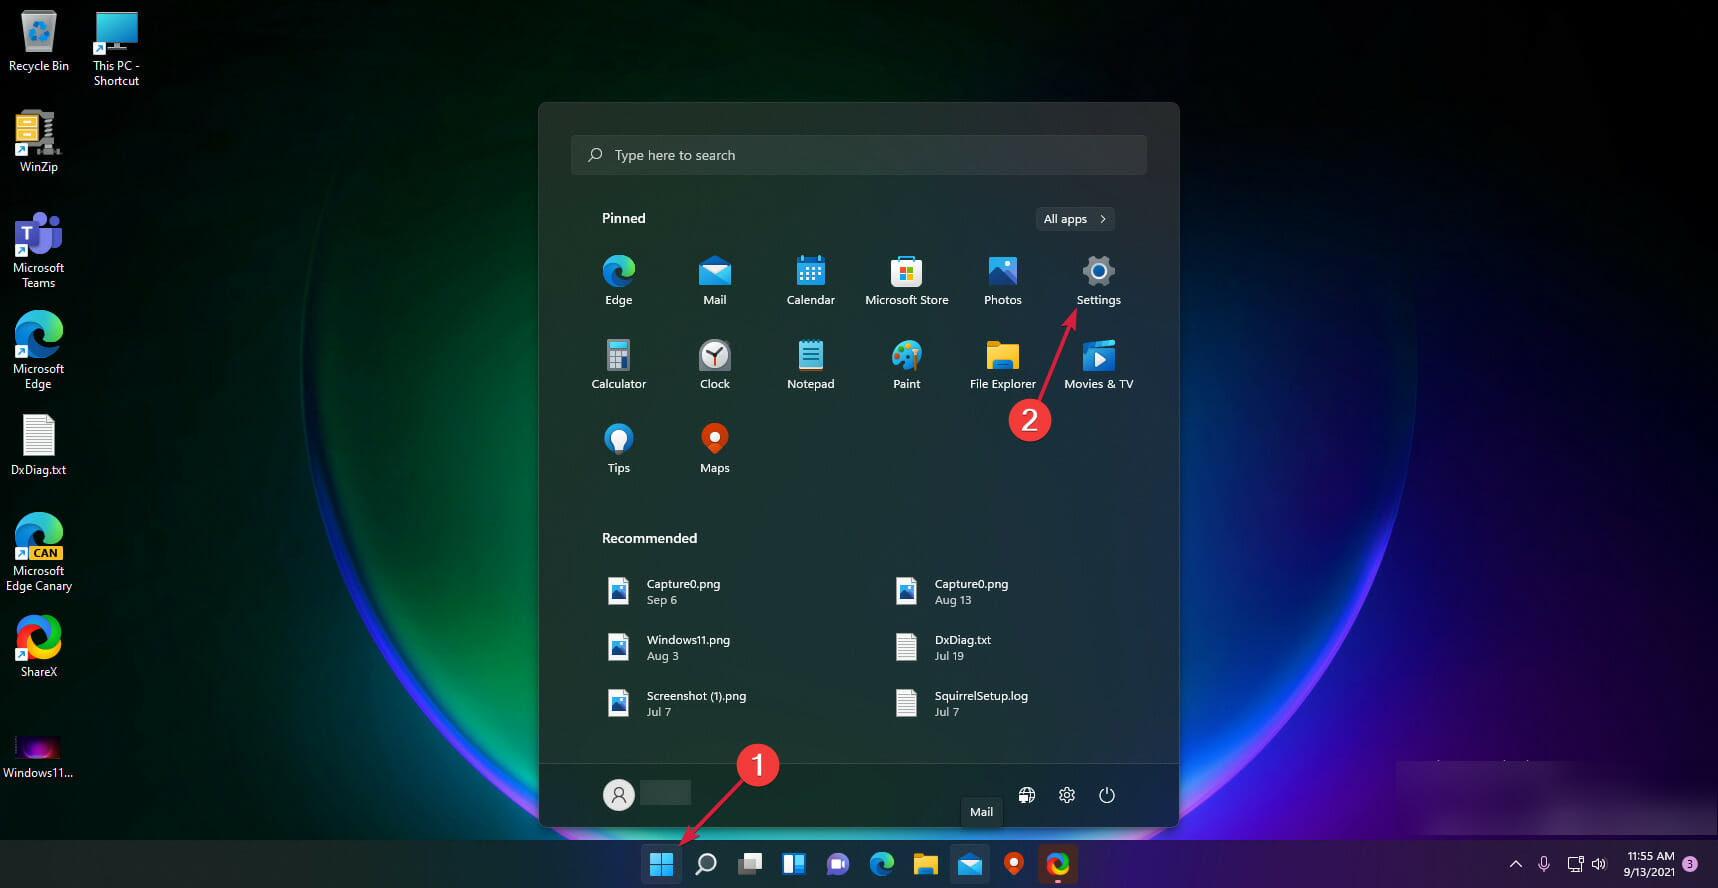
- Open Settings:
- Click on the Start button on the taskbar.
- Select Settings from the Start menu. Alternatively, press Windows + I to open Settings directly.
- Select Personalization:
- In the Settings window, click on Personalization from the sidebar on the left.
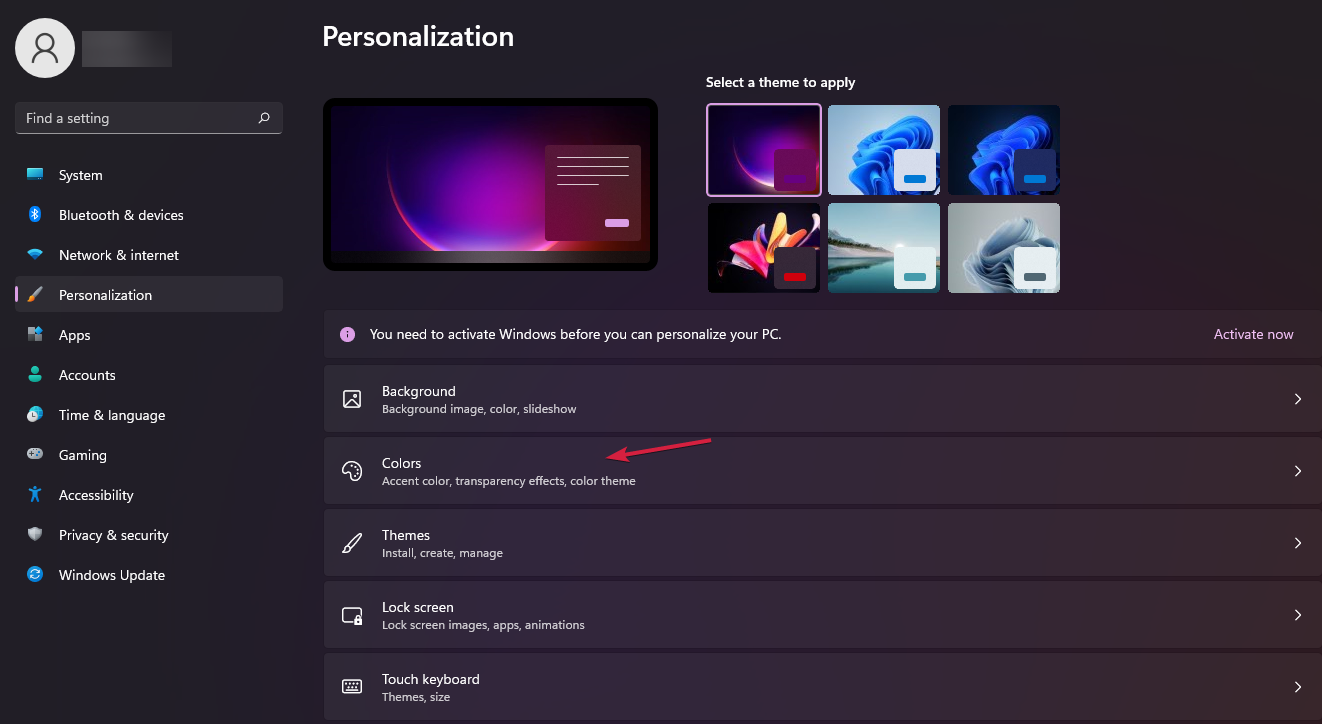
- Navigate to Colors:
- Click on Colors from the options on the right pane.
- Choose Dark Mode:
- Click the drop-down menu under Choose your mode.
- Select Dark.
2. Customize Dark Mode and Accent Colors
- Access Colors Settings:
- Follow the above steps to get to the Colors settings.
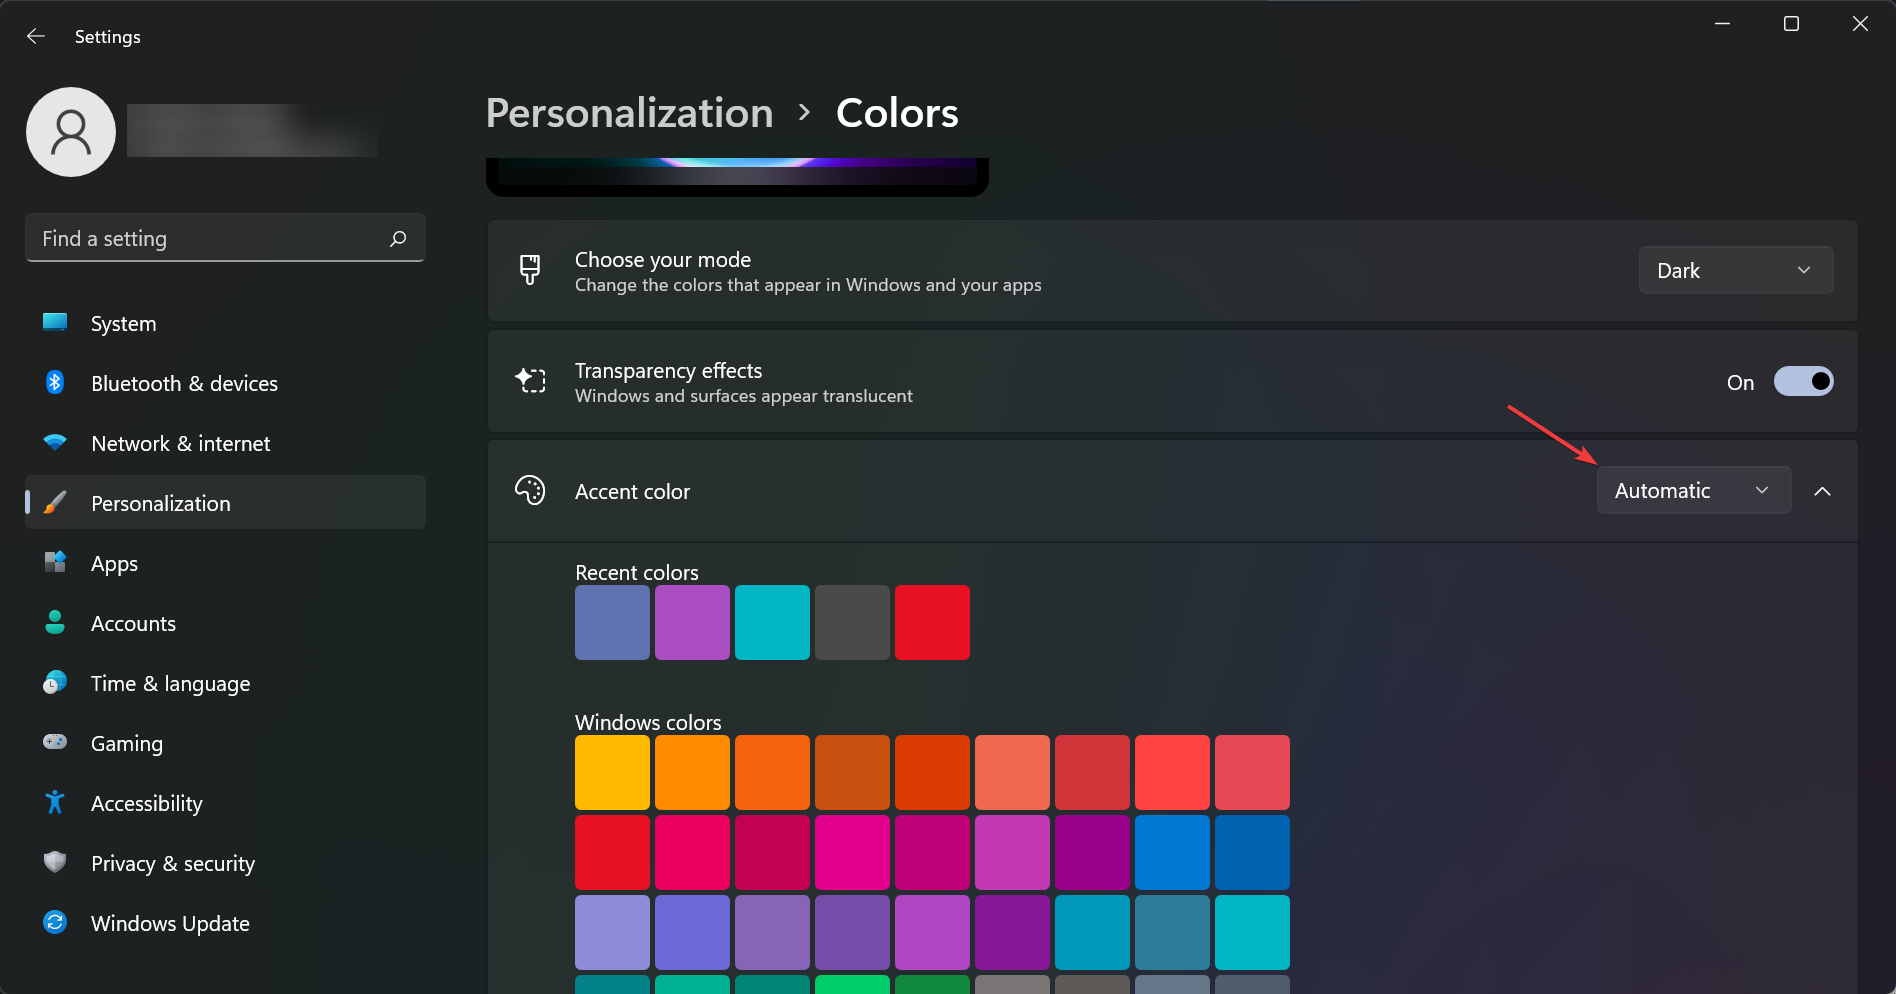
- Customize Accent Colors:
- Under Choose your color, select Dark.
- Expand the Accent colorsection:
- Select Automatic to let Windows pick a color based on your background.
- Select Manual to choose a specific color under Recent colors or Windows colors. For more options, click on View colors next to Custom colors.
- Show Accent Colors:
- Scroll down and toggle Show accent color on Start and taskbar and Show accent color on title bars and window borders to turn them on or off as desired.
3. Enable Dark Mode via Registry Editor
- Open Registry Editor:
- Press Windows + R to open the Run dialog.
- Type regedit and press Enter.
- Navigate to Registry Path:
- Follow this path: Computer\HKEY_CURRENT_USER\Software\Microsoft\Windows\CurrentVersion\Themes\Personalize.
- Modify Registry Values:
- Double-click on SystemUsesLightTheme and set the value to 0 to enable Dark Mode for the system.
- To disable Dark Mode, change the value to 1.
- Modify App Theme:
- Similarly, double-click on AppsUseLightTheme and set the value to 0 to enable Dark Mode for apps. Change to 1 to disable it.
4. Use Third-Party Tools for Dark Mode Management
- Download Auto Dark Mode:
- Visit the official GitHub directory or the Microsoft Store.
- Download and install the Auto Dark Mode application.
- Configure Auto Dark Mode:
- Open the Auto Dark Mode application.
- Set schedules for switching between Light and Dark modes based on the time of day.
How can I set Accent color to Automatic?
- Press the Windows Start button and choose Settings.

- Click Personalization from the left pane and select Colors from the right.

- Now, got to the Accent color option and set it to Automatic. That will allow Windows to set an automatic set of colors based on your background.

By following these solutions, you can easily enable and customize Dark Mode in Windows 11. Whether you prefer using the straightforward Settings menu, making advanced tweaks in the Registry Editor, or using third-party tools for automation, these methods will help you achieve a more comfortable and personalized user experience.